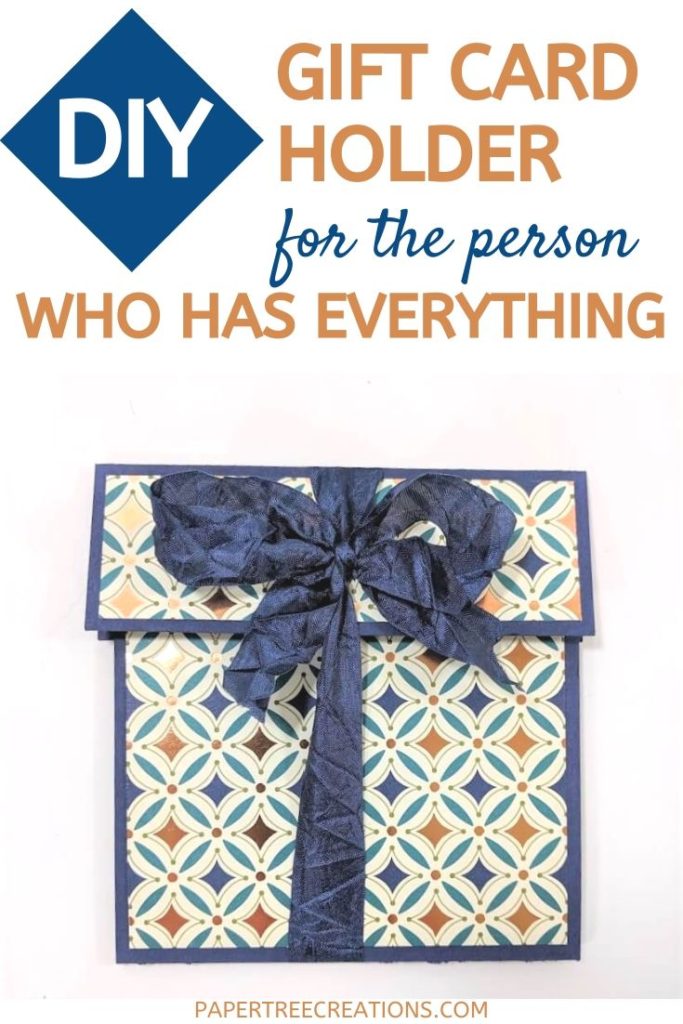
Here is a great gift card holder for that person (or persons!) in your life who has everything. We all have them. And we get them gift cards because we love them and want to do something for them. Here is a fun way to package that gift card! Keep reading for a DIY tutorial on how to make this cute gift card holder.
Gift Card Holder Tutorial
1. Cut desired color Cardstock (cs) to 4″ x 11″. Score in the horizontal position at 4″, 5 1/2″, and 7″.

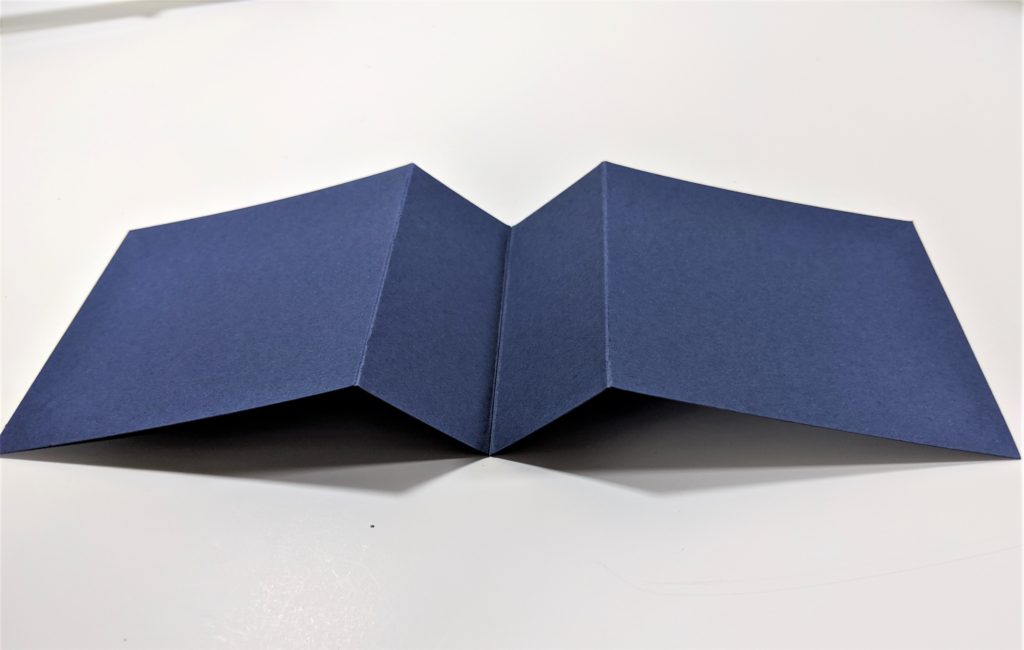
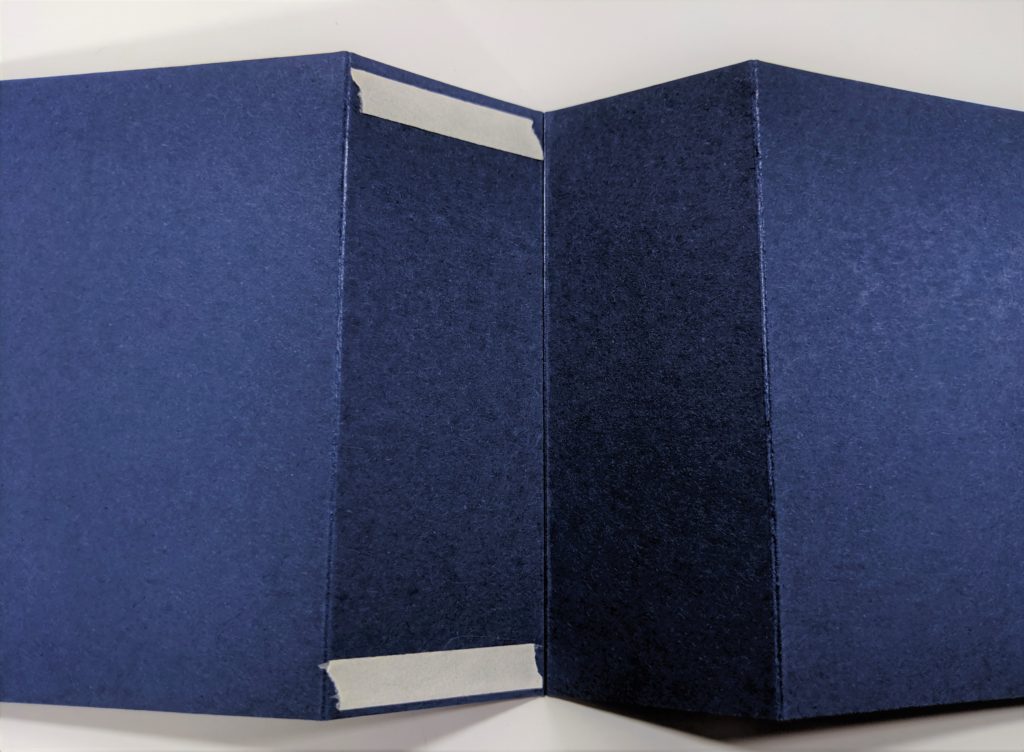
2. Fold each score line as follows: Valley fold on the 4″ score, mountain fold on the 5 1/2″ score, and valley fold on the 7″ score.
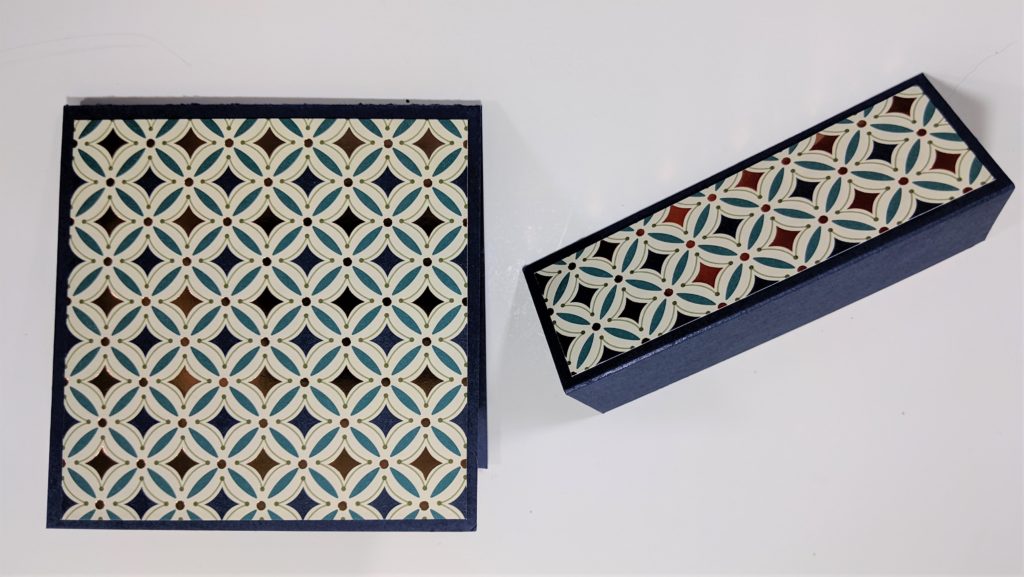
3. Using Tear and Tape, adhere on the edge of the two undersides of the mountain fold. Using the Tear and Tape, make a pocket. It is important to use a strong adhesive when making these. Regular adhesive is not strong enough to hold it together. Fold to form your 4″ x 4″ present bottom card base with the tuck in fold on the inside of your card.

4. For the present top, cut matching cs to 3″ x 4 1/4″. In the vertical position, score at 1 1/2″ and fold. Using Tear and Tape, adhere the inside of the present top to the upper back of the present bottom. The fold of the present base is at the bottom. In the picture below, I put my tape a little too close to the sides. Remember that the top of the present is a little bigger than the bottom.
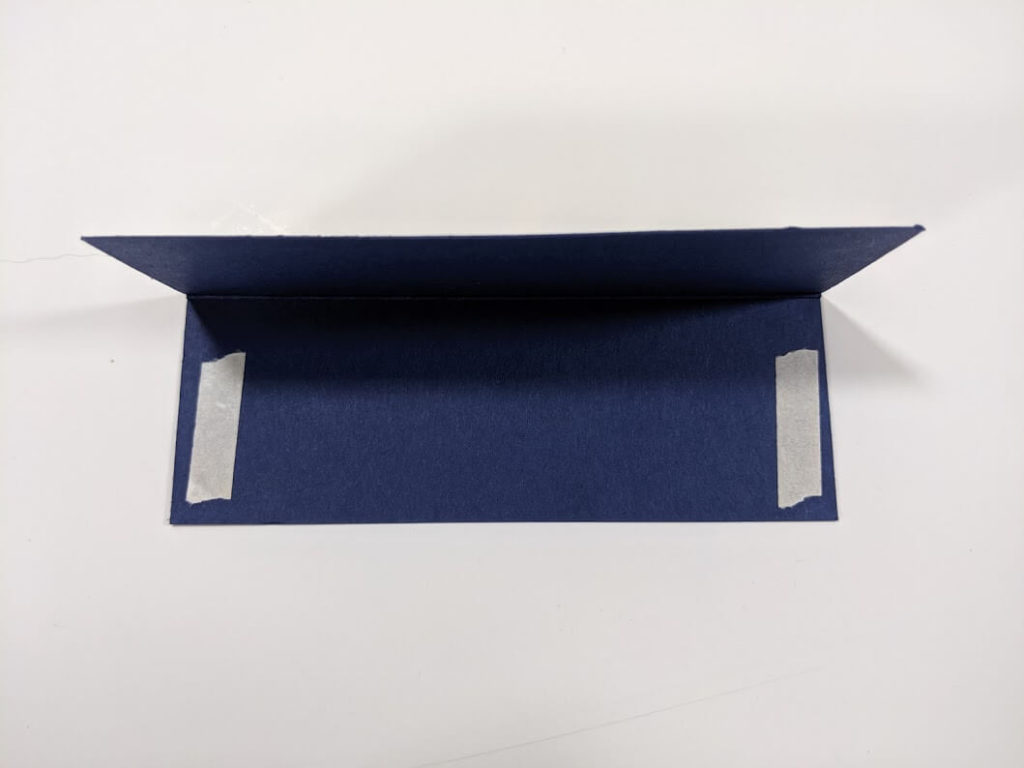
You can change the height of your present by where you attach the present top.
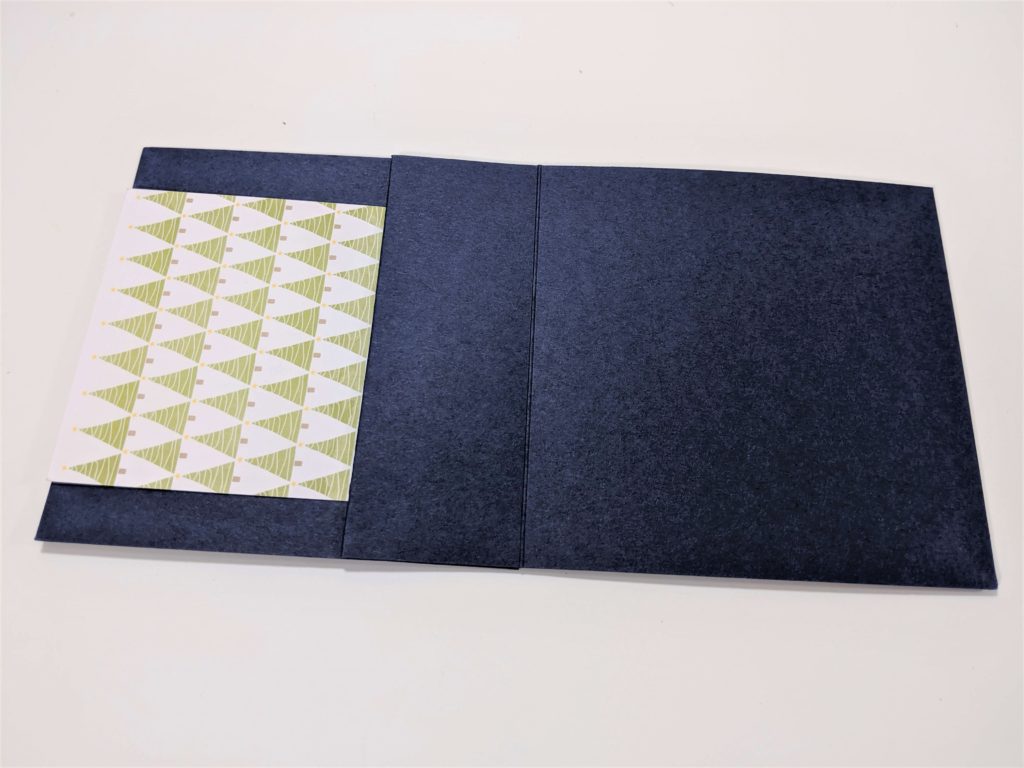
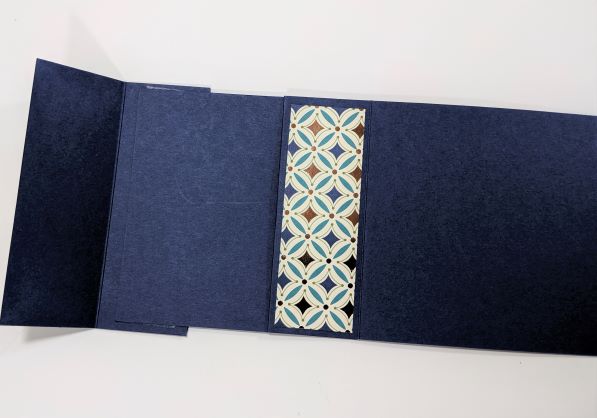
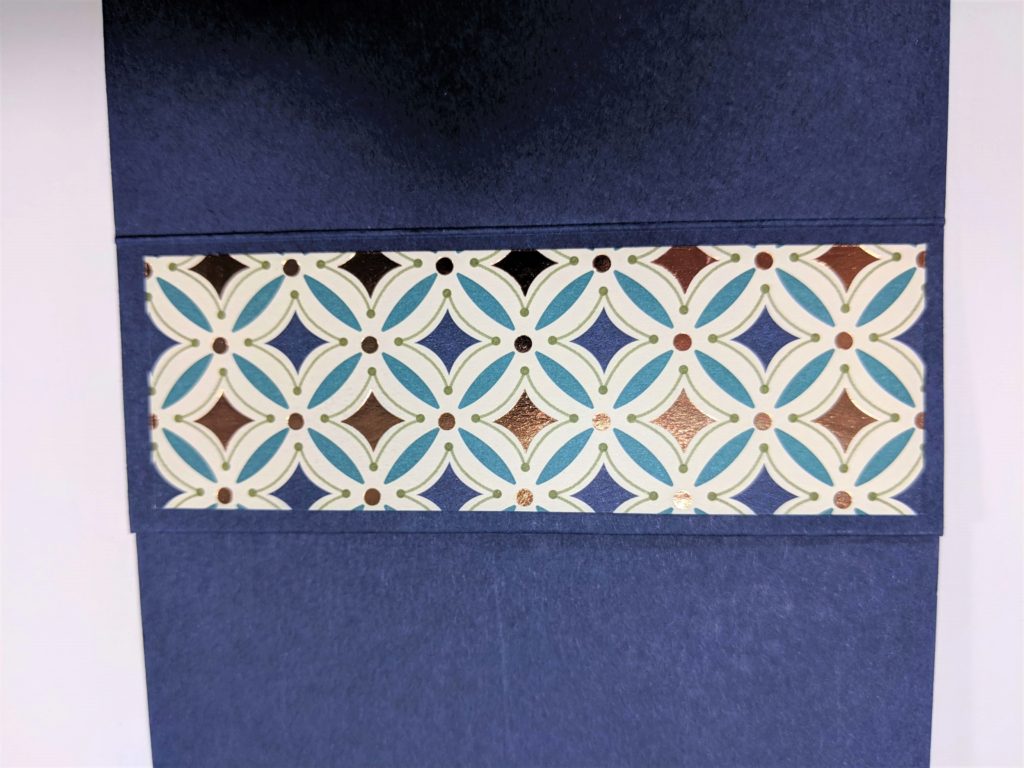
5. Cut and adhere the Designer Series Paper of your choice to 3 3/4 x 3 3/4 (for present bottom), 4 x 1 1/4 (for present top), and 3 3/4 x 1 1/4 (for inside the present).
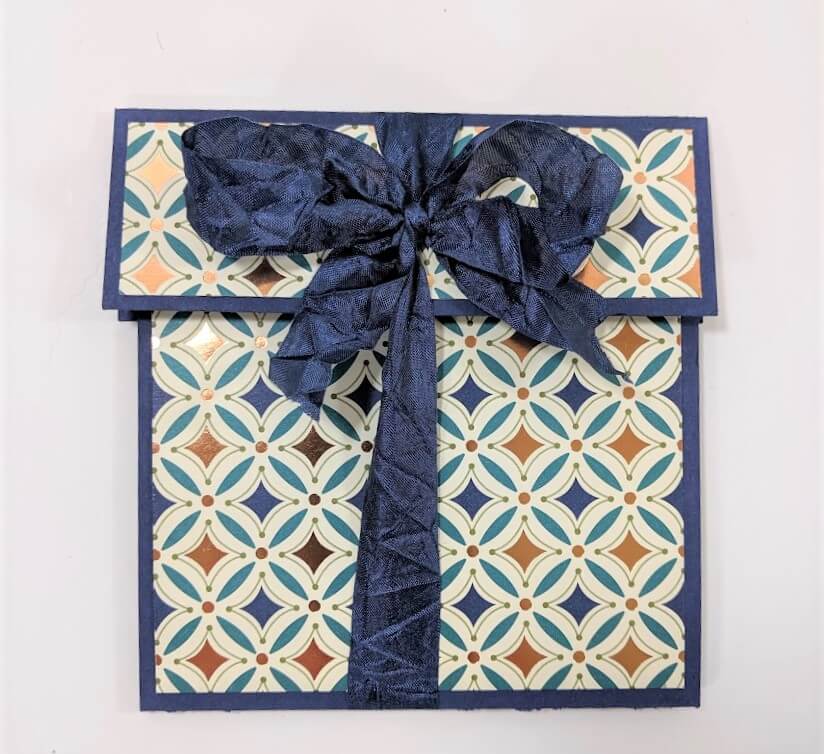
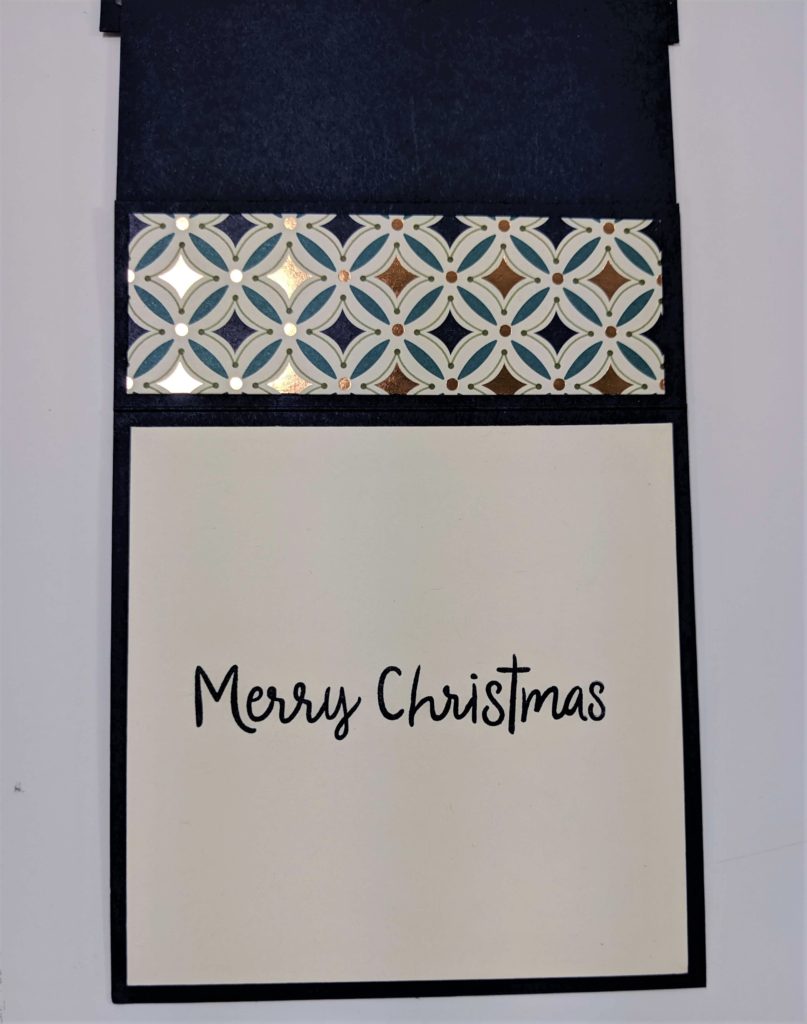
6. Stamp your greeting on a piece of 3 3/4 x 3 3/4 piece of Whisper White of Very Vanilla cs. Glue to the inside of the present and tie it up with a length of ribbon and you have a cute gift card holder!
These are great for so many different occasions, such as birthday, graduation, wedding, or any other one you can think of. They are fun and easy to make and you can still give “a present” to your recipient. Have fun making them and if you have any questions, don’t hesitate to ask!
Product List

")