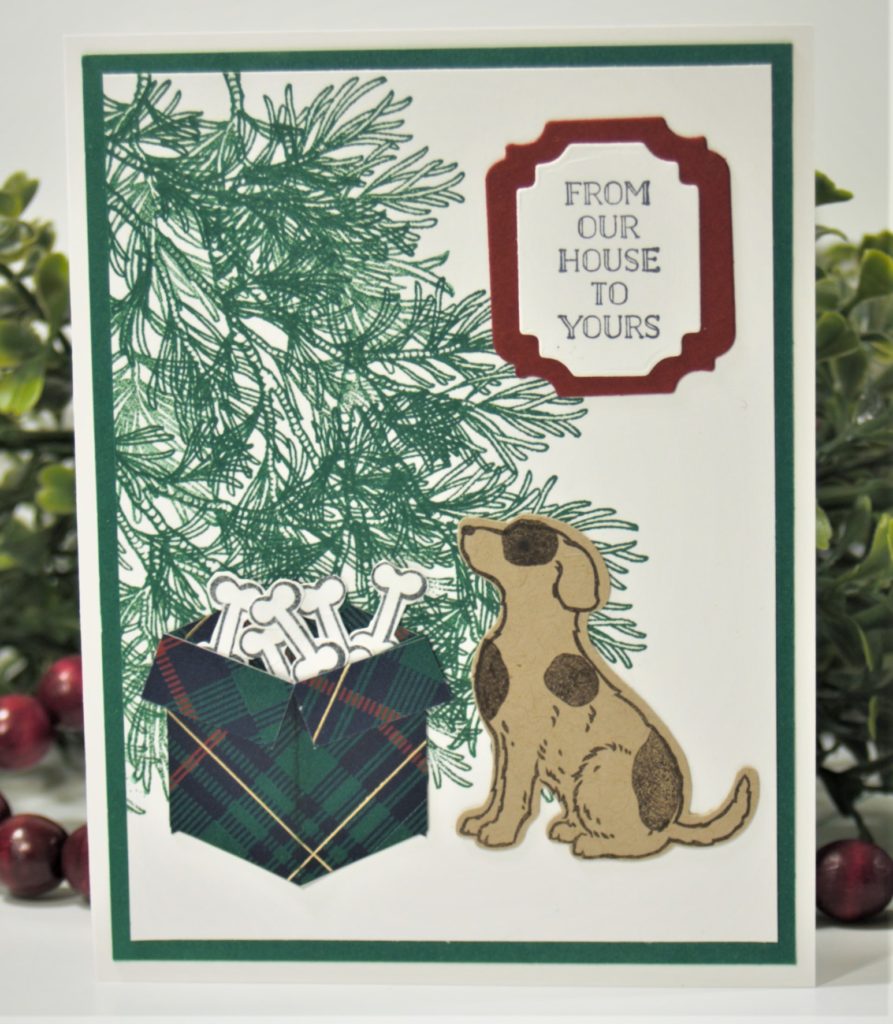
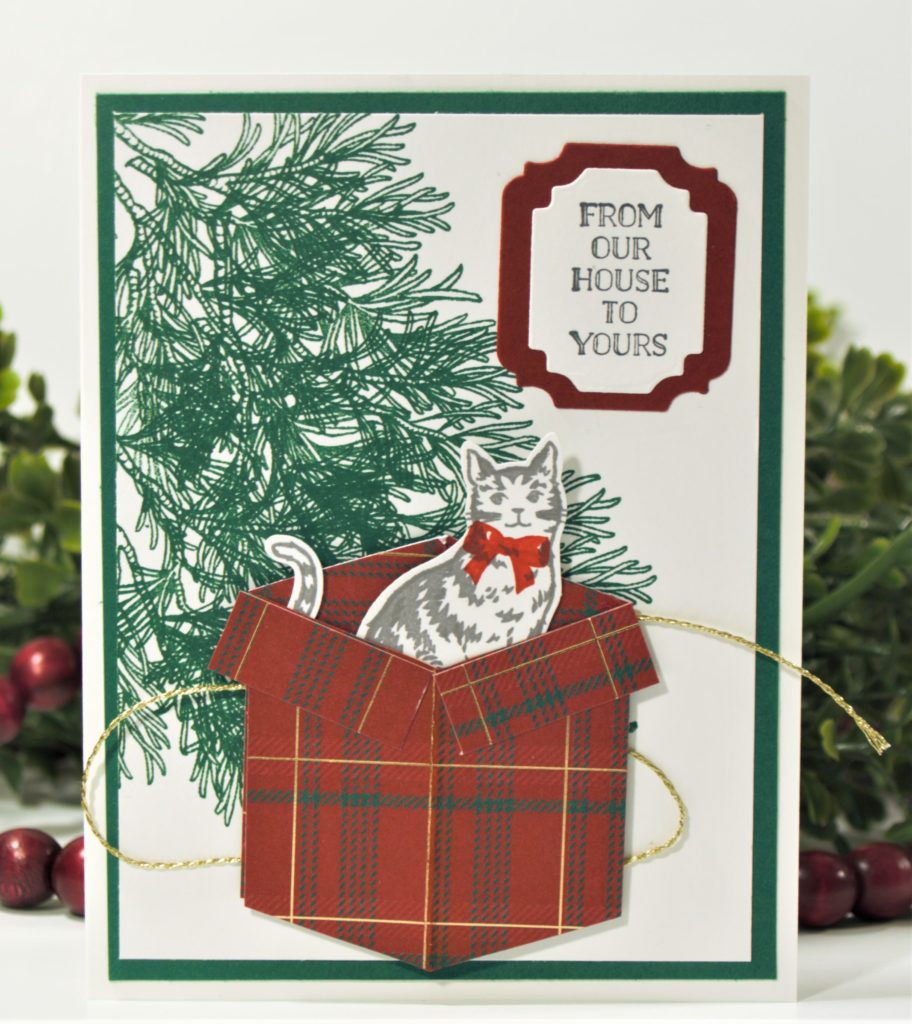
Many of us have pets that are like part of the family, and we don’t want to forget them when sending out our Christmas cards. Sometimes we even include them in our pictures we send. But for those of us who don’t want to try to get them to co-operate for the picture, here are cards that you can use with either a cat or dog.
I included a tutorial on how to make a box/present to put on the front of your cards. You can use it as a Christmas present or a birthday present on your own cards.
Both cards use a piece of Whisper White cardstock cut at 3 3/4″ x 5″ and a piece of 8 1/2″ x 5 1/2″ scored at 4 1/4″ for the card base. The frame is Shaded Spruce cardstock cut to 4′ x 5 1/4.
The greeting for both cards are from Itty Bitty Christmas and the die cuts for it are the Ornate Frames Dies. I am happy to report that both of these will be carrying over!
How to Make the Christmas Tree Background
1. Using the stamp set Peaceful Boughs, stamp the bigger branch in Shaded Spruce Ink, forming the shape of a Christmas tree on the 3 3/4 x 5 piece of cardstock. I mentioned that this is one of my favorite stamp sets in a previous post. This is another way to use it with just the stamp. And I haven’t even gotten to the pine cone yet!
2. Fill in some branches with the smallest branch stamp until you get a tree you like. Leave some space at the bottom so it doesn’t look like the cat or dog are sitting in the tree!
How to Create the Cat and Dog Cutouts
1. Using the Nine Lives stamp set or the Happy Tails Stamp set, stamp your image with your preferred ink color on your preferred cardstock. I stamped the cat with Basic Gray Ink on Whisper White cardstock and the dog with Early Expresso Ink on Crumb Cake cardstock.
I did add an extra spot on the dog by just inking the one spot and adding it where I thought it would look best.
2. Punch out the images with the matching Cat Punch or the matching Dog Punch. If you don’t have the matching punches, you can fussy cut them with scissors.
3. For the dog card, stamp a bunch of bones and fussy cut them out.
How to Make the Tuck-in Present for Your Card
Do you remember the first time you learned how to draw a 3-D box? I remember thinking it was so cool and drew them endlessly for a while. This box took me back to that time, and I had so much fun making them. I hope you enjoy it too!
1. To make the tuck-in box, take two 2 1/2 inch squares of paper. If you want a smaller box like I made in the dog card, use two 1 1/4 inch pieces for the box. I used the Wrapped in Plaid Specialty Designer Series Paper for both projects.
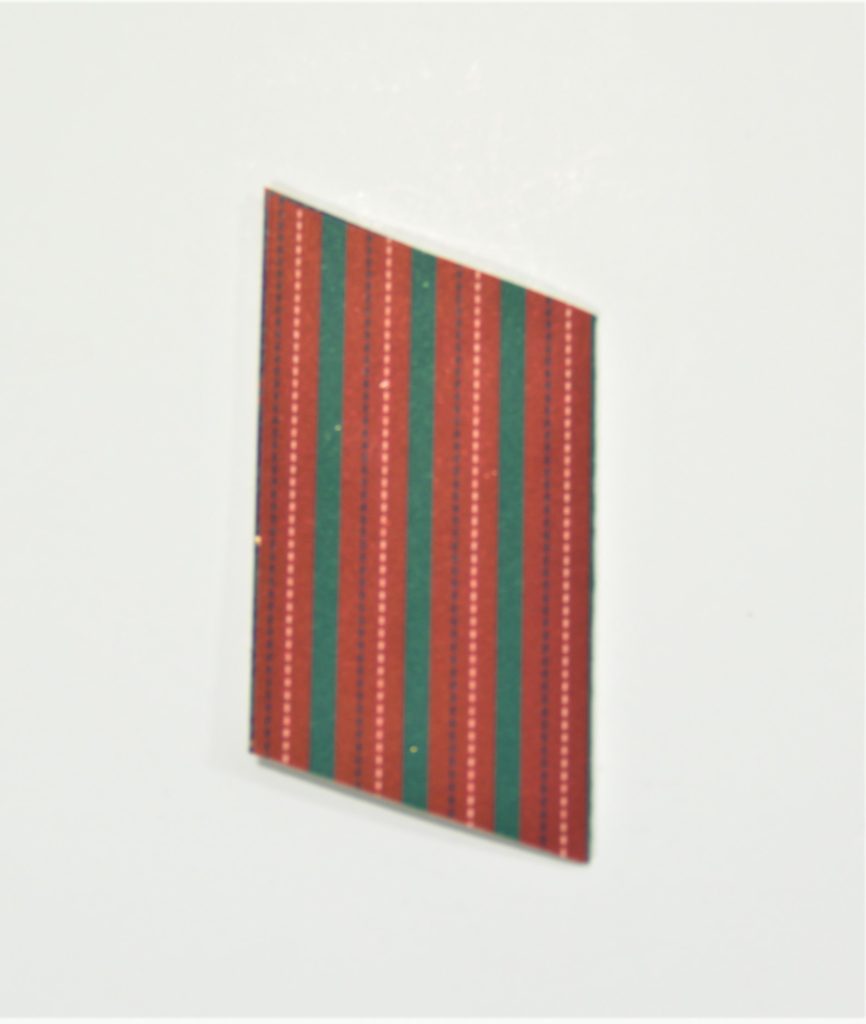
2. Fold them in half with the design you want on the inside. If you look at my pictures, I wanted the green plaid to be what was displayed for my present, so I folded it with the red stripes on the outside. I know it’s confusing, but bear with me!
3. Trim the edges of the squares at an angle (however sharp you want) so they look like a book when opened. Save the scraps as you’ll be using them for the present’s flaps later on.
4. Put a line of glue on the left and right edges of ONE of the squares (the one with the pointy edge up). The glue should be on the side of the paper that you want to be showing in your finished product.
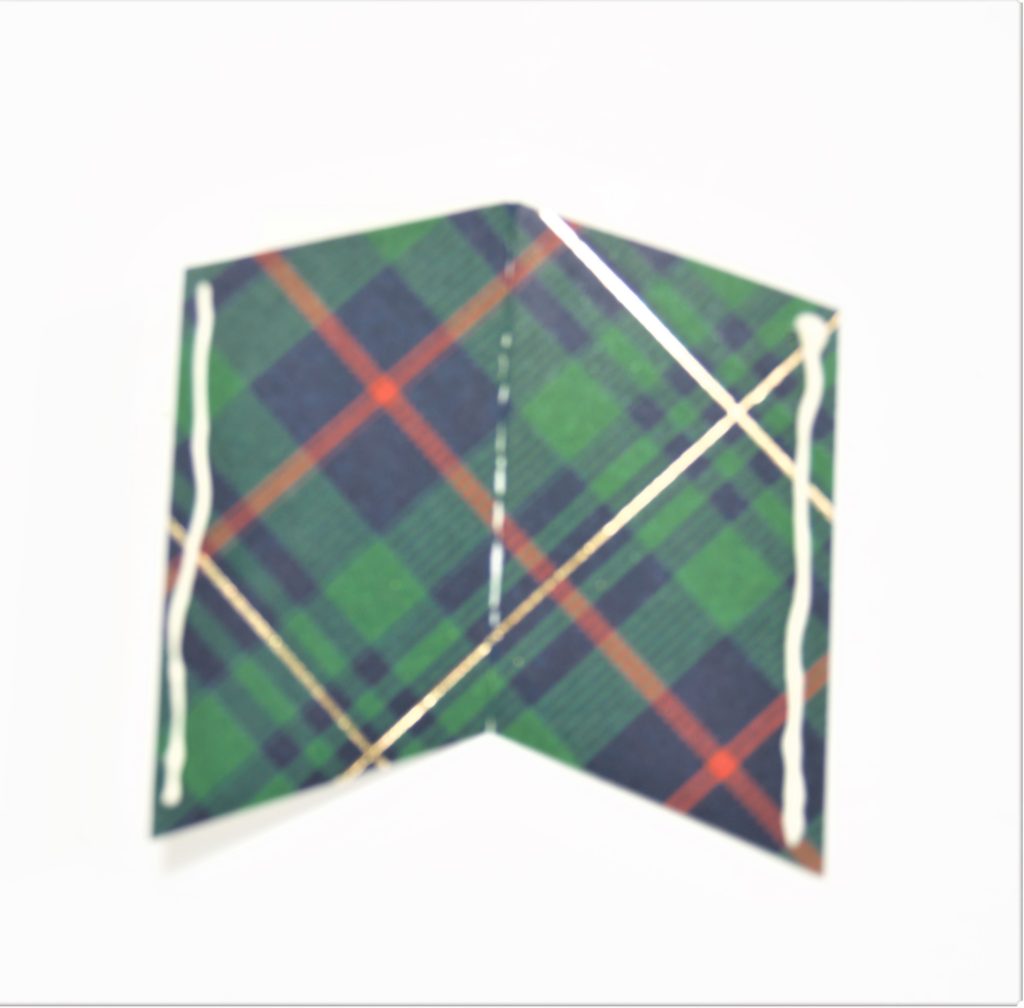
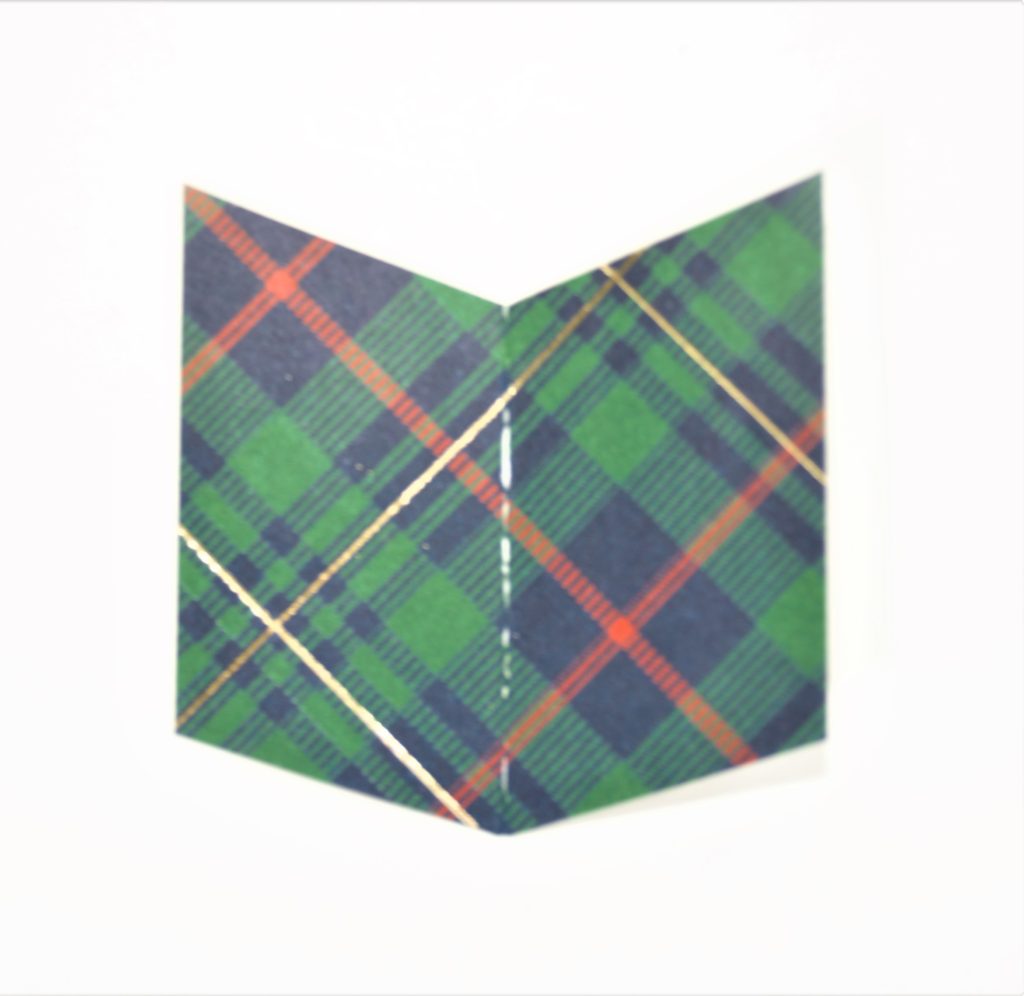
5. Take the other square (the one with the pointy edge down) and place it on top of the first square, matching the points with each other so it looks like this:
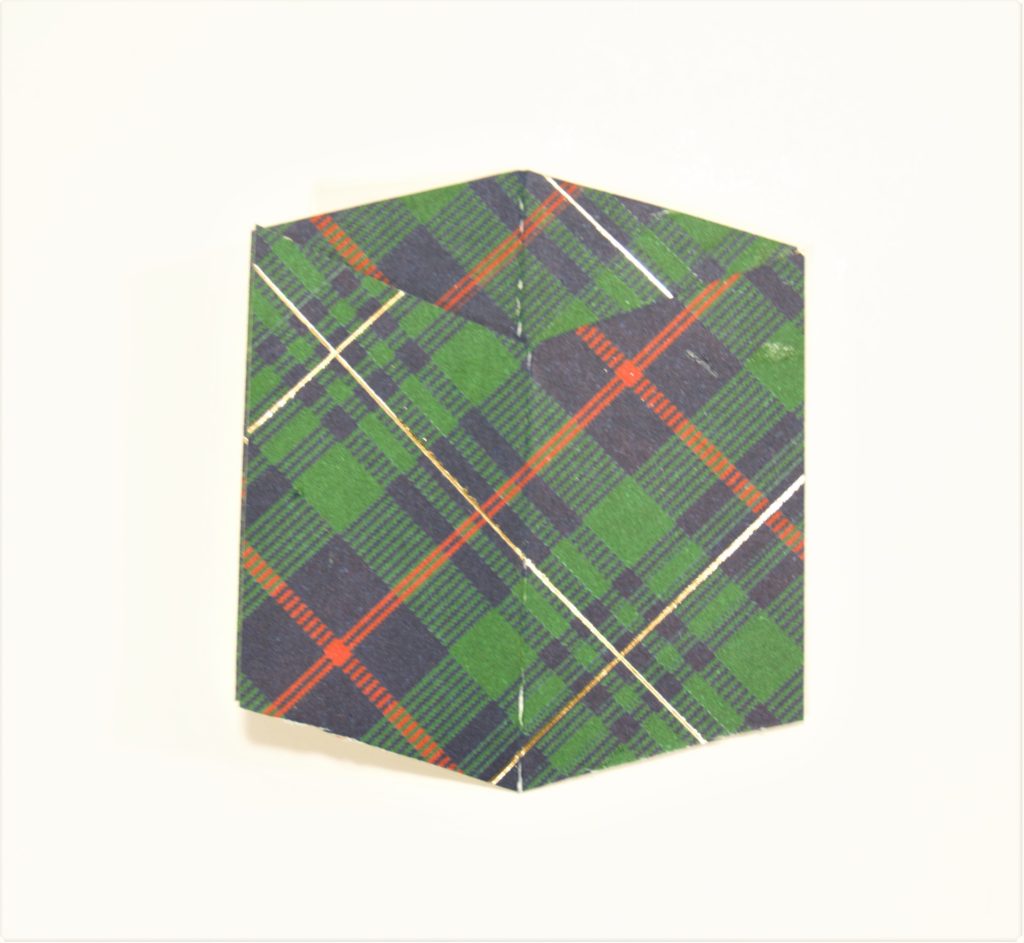
6. You’re almost done! Now, take the scraps you saved while you were trimming your squares. Trim two pieces of paper that are 1/2 x 1 1/4 inches. These are the flaps for your present.
7. Glue them to the box to make the flaps, like in this picture:
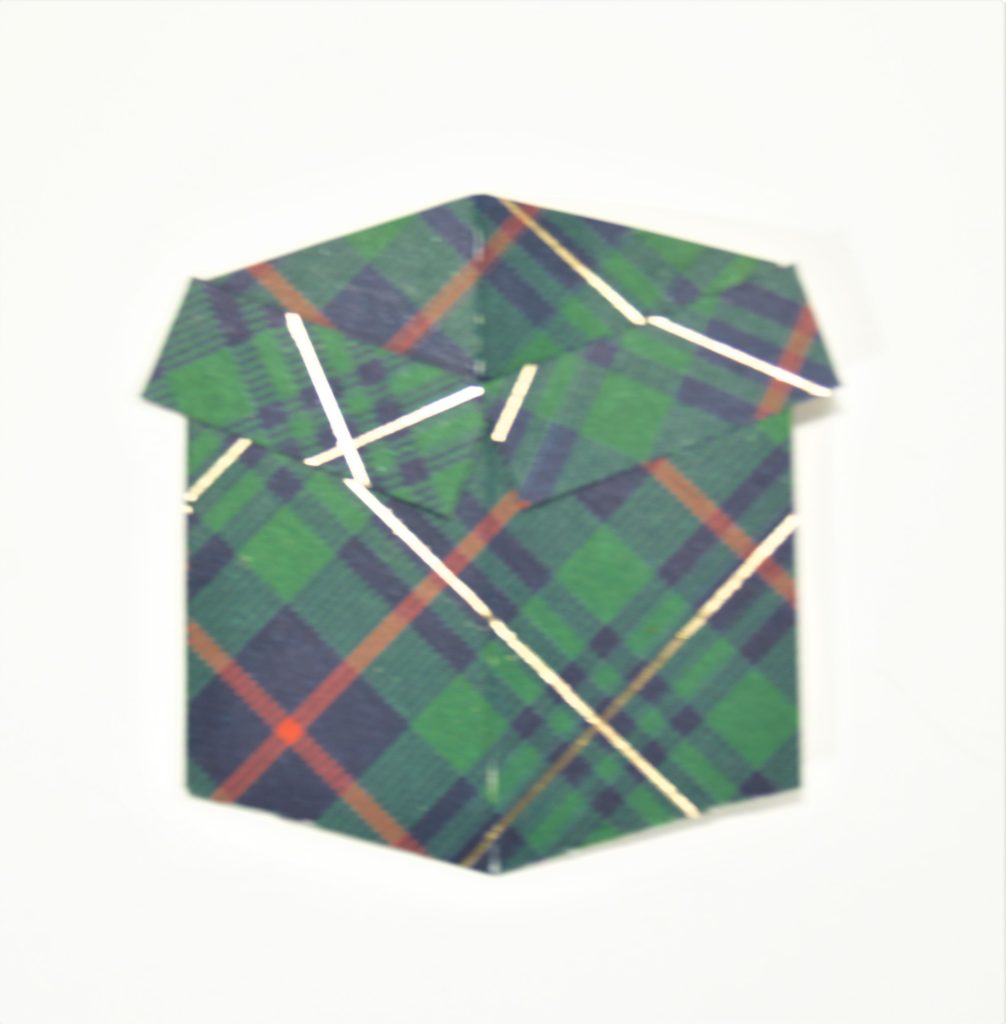
And your shiny new tuck-in present box is done! Now you can spruce it up by adding in dog bones or your cat—or whatever else you want to stick in it! Just use a little bit of glue and arrange them however you want!

I hope you enjoy making these cards! If you do, please share them with me on my Facebook Page.

