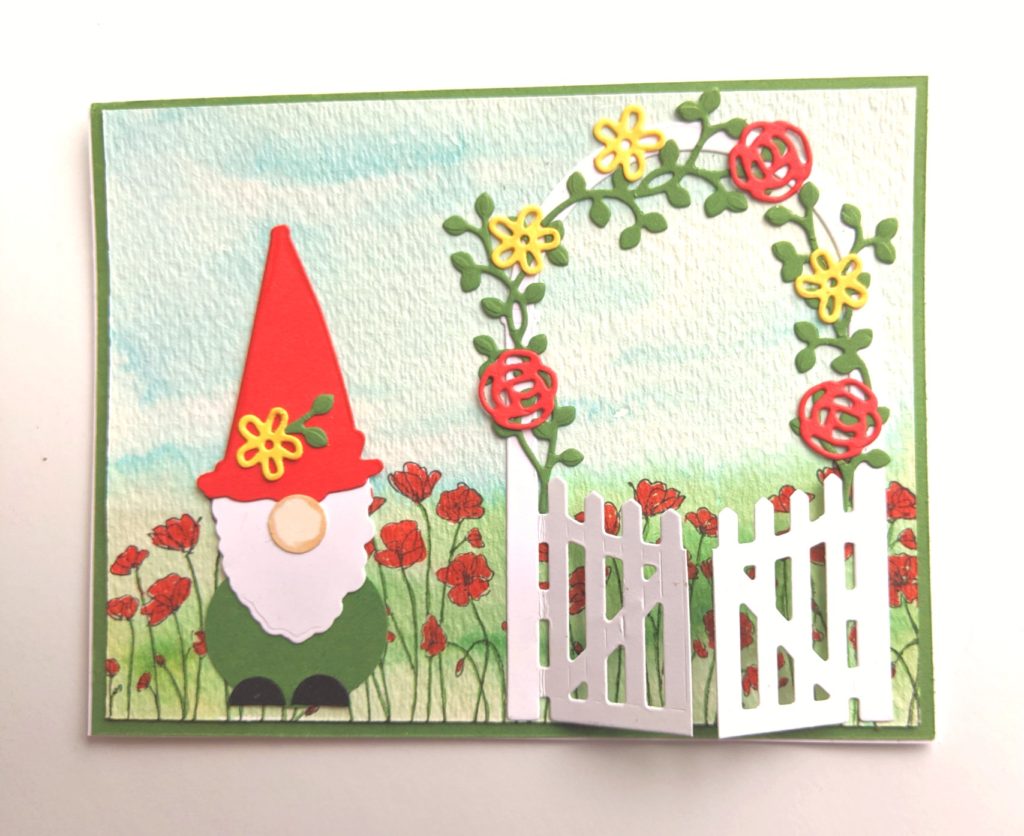
As promised in this blog post, here is the tutorial for making the Garden Gnome card. It was so much fun and I think he is just adorable! You can stamp a sentiment in the space in the middle of the arbor or on a strip of cardstock and place it on the top left, above our little gnome. I left mine blank so I can add the appropriate sentiment when I decide to send him out.
Card Tutorial
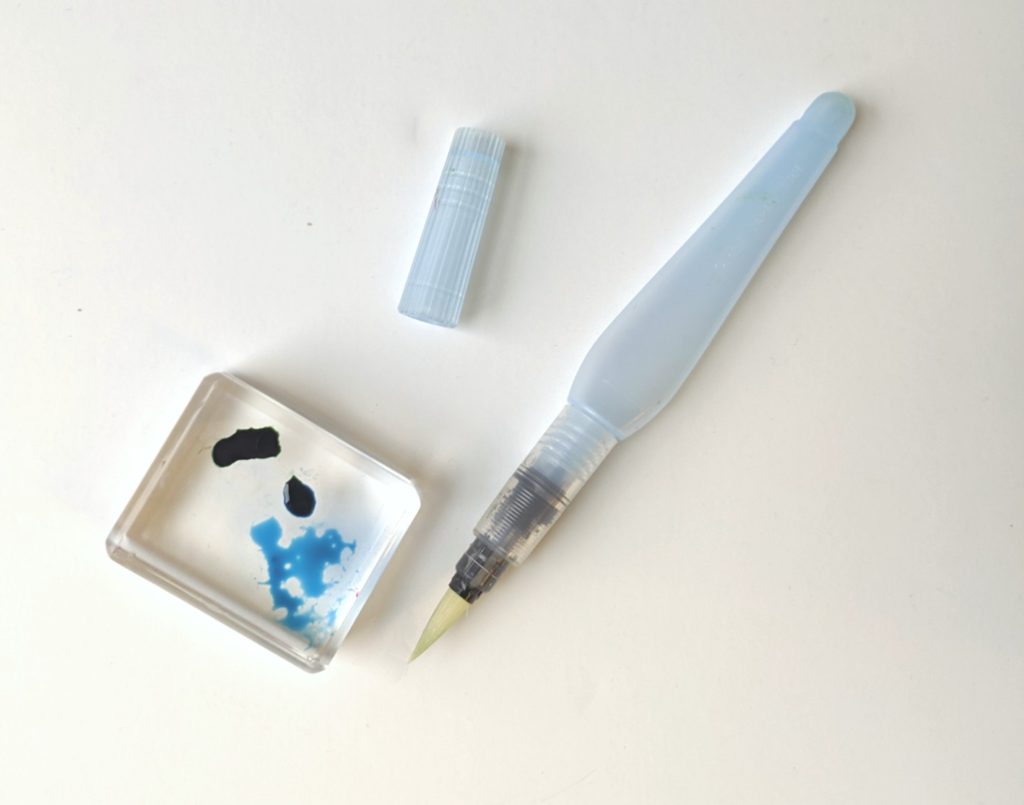
- Cut a piece of water color paper to 4″ x 5 1/4″. Put a drop of Balmy Blue ink and Garden Green Ink on a block or surface that won’t absorb it.
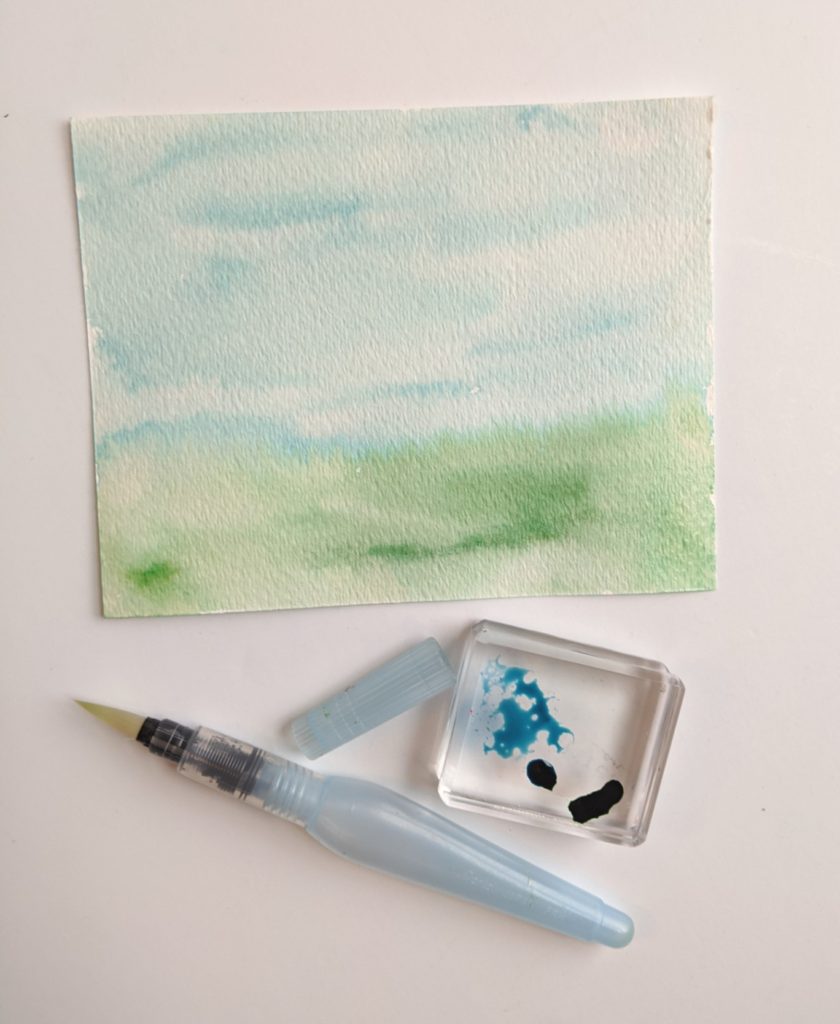
2.Using a Watercolor Brush, do a wash of blue for the sky and a wash of green for the grass. The intensity of the color depends on how much water you use.
3. Stamp the flower image from Painted Poppies in black ink. I used Stazon for this card because I was using Stampin’ Write markers to color with.
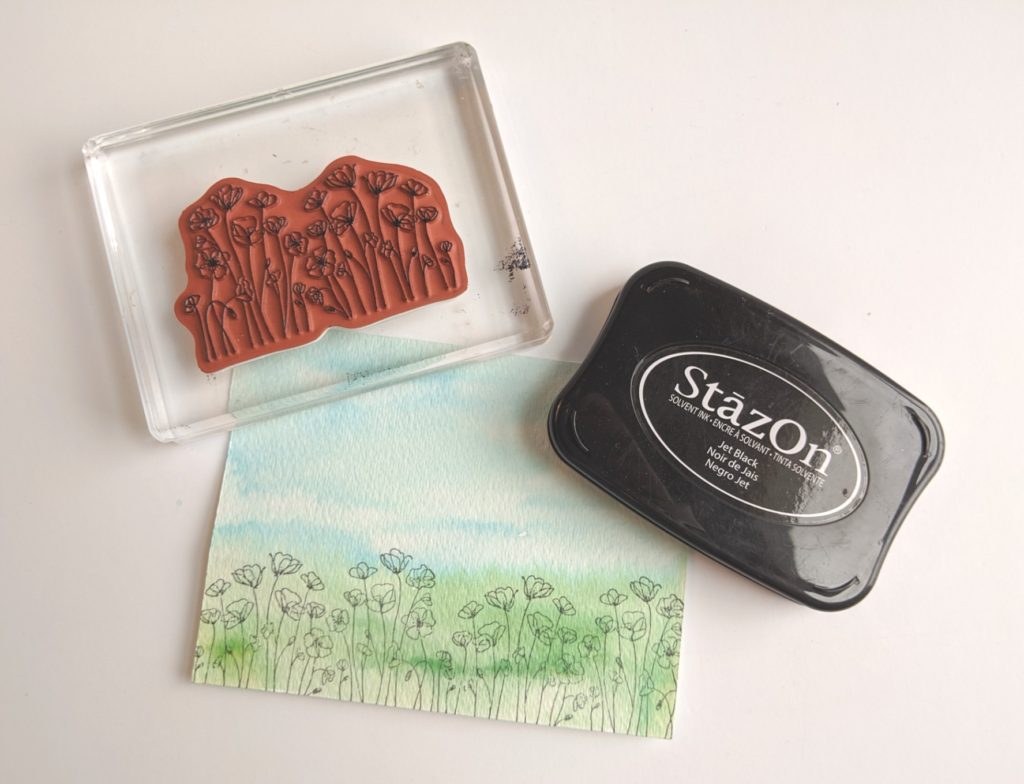
4. Color the flowers with Poppy Parade and use Garden Green Stampin Write Markers to trace the stems.
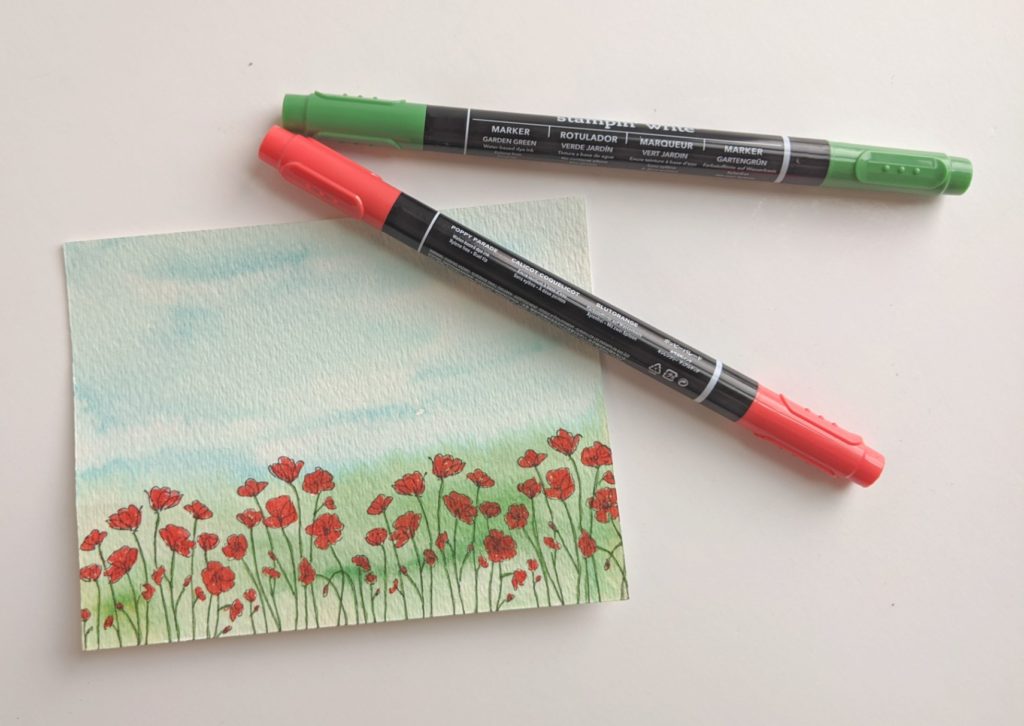
5. Die Cut the gate from the Garden Gateway Dies in Whisper White, the flowers from Poppy Parade and Daffodil Delight, and the leaves from Garden Green Cardstock.
6. Make the Garden Gnome following the instructions from this blog post.
7. Glue on the gate (I snipped up the middle of it so the gate would open), flowers, and leaves. Add the gnome. Mount on a piece of Garden Green Cardstock (4 1/8 x 5 3/8) and glue to your A2 card base (8 1/2 X 11, scored at 4 1/4)
Product ListI hope you enjoy him as much as I do!
Sale-A-Bration Giveaway
Don’t forget to checkout my Sale-A-Bration Giveaway for a chance to win a free 1 month subscription to Paper Pumpkin, a monthly subscription box.
